Get Started
Setting up Holaray Messenger on your Mobile Phone
Below is a step-by-step guide for setting up Holaray on an Android or IOS device.
- Install the App from the Google Play Store or App Store on your phone.
- Search for Holaray Messenger App (search Holaray) on the play store or App Store and tap on it as it appears on the search results.
- Tap install to download the app on your phone.
- On the welcome to Holaray screen, tap on agree and continue once you have read the terms and conditions.
- Tap submit to proceed.
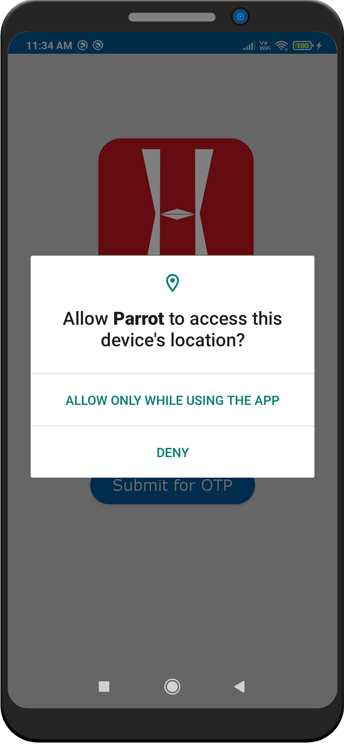
- Tap accept to allow Holaray to access your gallery, contacts, location and others. The App get installed even if you do not wish to give permission to them. However for accessing and using the complete features of the App, the said permissions are needed.
-
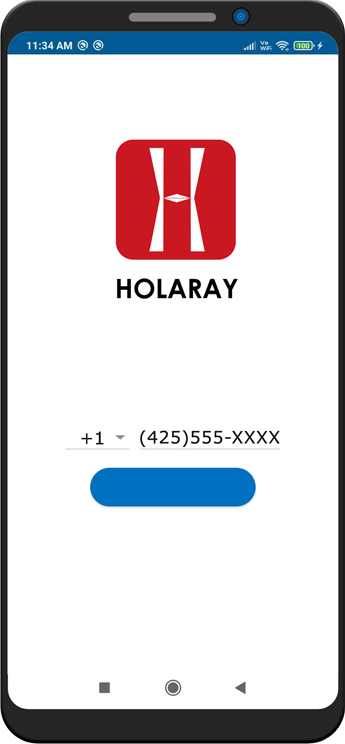
Enter your Country code followed by:
- The phone number of the device you are using.
 Validate Your Mobile Number
With OTPSubmit for OTP
- Click Submit for OTP
- You will then receive a four-digit verification code sent to your mobile number by text message.
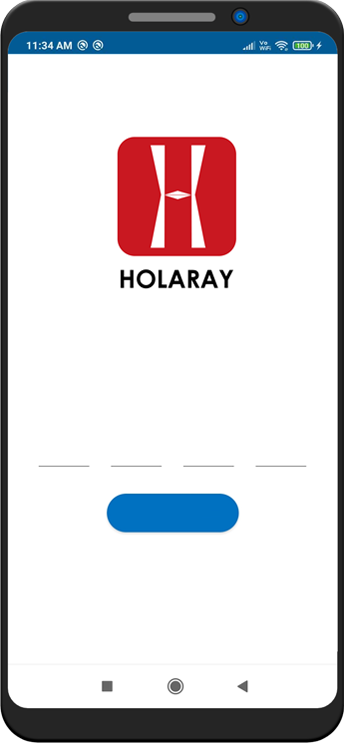 Please enter 4 digit OTP sent to
your Mobile numberSubmitResent OTP
- On the next screen enter the code and click on submit. Please note in case you have problems receiving the message, you have the option to ask for it to be re-send. How ever kindly wait for enough time to receive the text message as SMS in some countries take more time to get delivered.
- On correct entering of the code, a screen will pop up confirming that the OTP is verified.
-
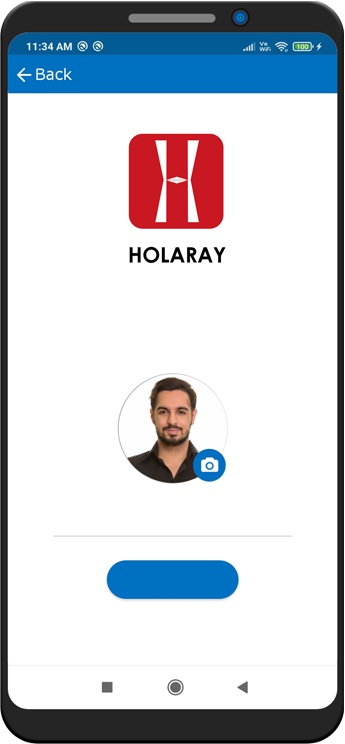
On the next welcome screen, enter your name and a profile picture of your choice.
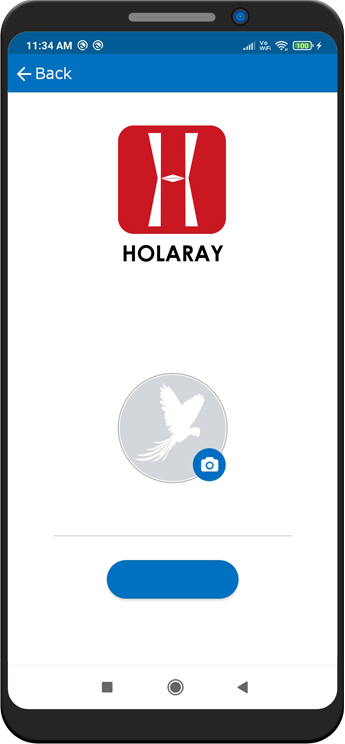 HolarayWelcome to Holaray Messenger, Kindly
update your Name and Profile Picture
to complete the registrationEnter NameSubmit
Below points need to be noted while completing this step:
- It is Mandatory to upload a profile picture and mention your name.
- It is at your discretion as to what you want to use as your profile picture and name. You could consider using a picture that identifies you or with your brand, organization etc.
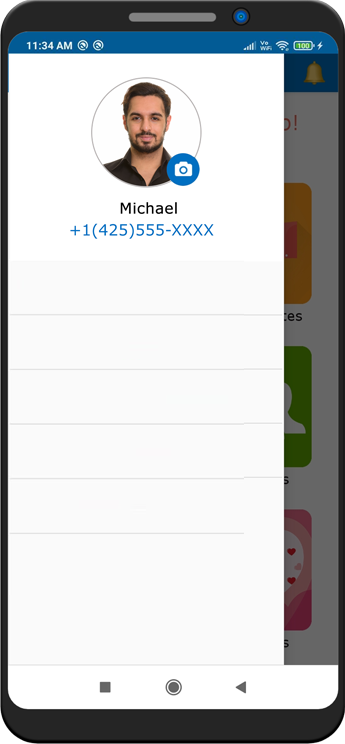
 HolarayYou are already registered with us
and your details are as follows.MichaelSubmit
- All the information you furnished including your name, mobile number and profile picture are available at the Settings menu which is on the left side of your home screen. All these information can be edited any time. This completes the basic registration and activation process for the App.
-
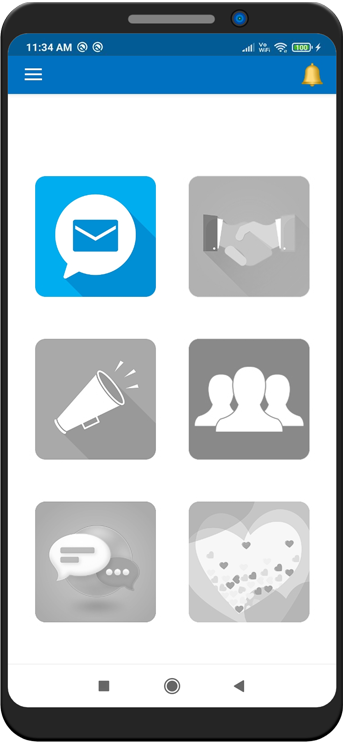
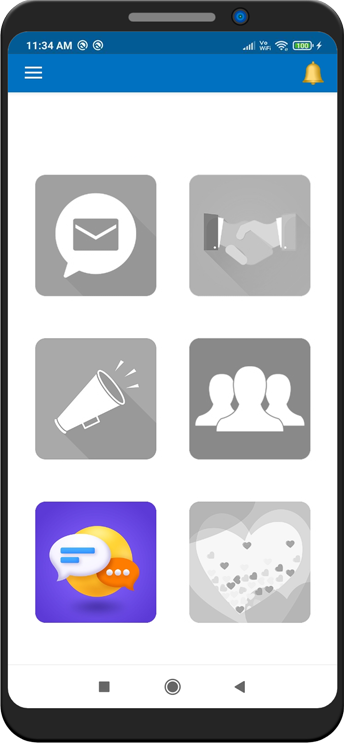
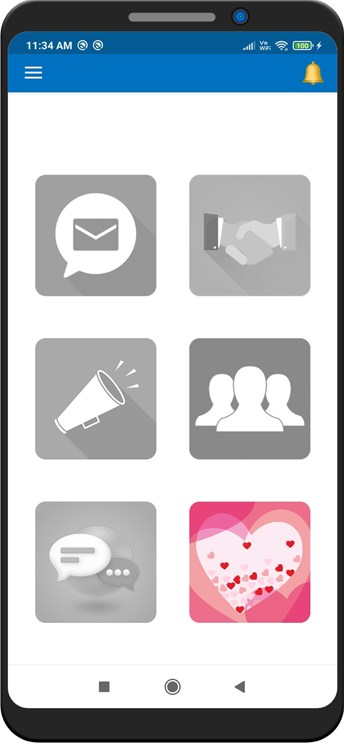
On the welcome screen you will see the various Holaray features:
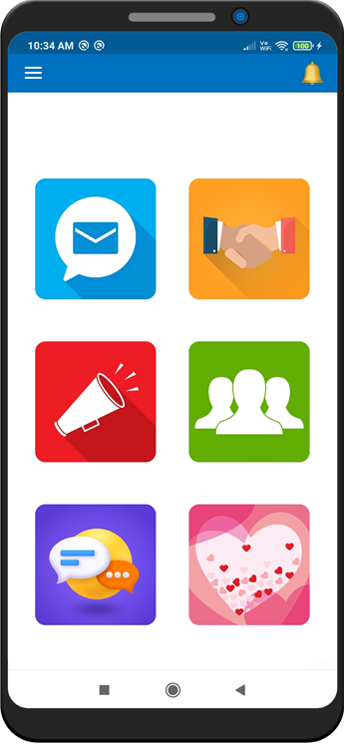 HolarayWelcome to Holaray Messenger!Unleashing Global OpportunitiesMy BoxMy CorporatesPromotionsMy GroupsChatInvitations
- My Box
- My Corporates
- Promotions
- My Groups
- Chat
- Invitations
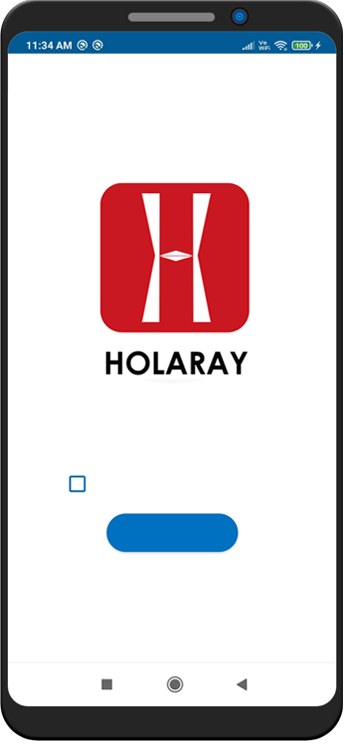
Welcome to Holaray
Accept Terms and Conditions
Submit
Description of the Features -
My Box
Holaray
Welcome to Holaray Messenger!
Unleashing Global Opportunities
My Box
My Corporates
Promotions
My Groups
Chat
Invitations
- Tap on 'My Box' feature in the home screen.
- A list of messages customized for you which requires an action from your end will be displayed.
- This message in your "My Box" is sent to you because of your acceptance of the respective corporate from "My Corporates" section.
- Click on a message which can be a meeting invite or customized sale offer.
- You will see the details of the message along with an action item.
- Select the option of your choice. For instance, in case of a customized offer from a brand, you need to choose between "Interested" or "Not Interested" in the brand offer.
- All expired messages will be listed in the "INACTIVE" section of the "My Box"
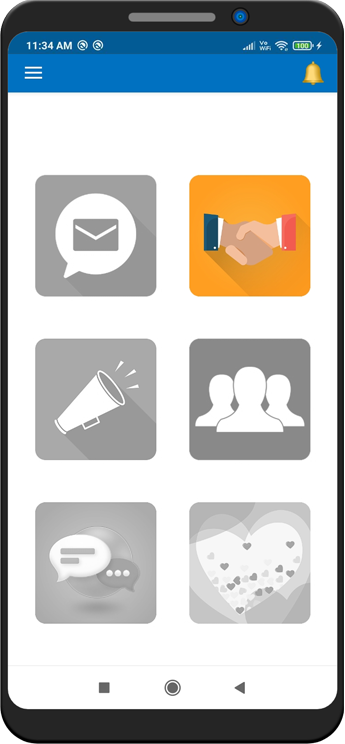
My Corporates
Holaray
Welcome to Holaray Messenger!
Unleashing Global Opportunities
My Box
My Corporates
Promotions
My Groups
Chat
Invitations
- Tap on 'My Corporate' feature on the home screen.
-
Three types of group options will appear on the top of the screen:
- Public
- Private
- Corporates
- Public Corporate screen will be the default screen which will open once you follow the above steps.
Public
- The default screen will display the list of public groups you are part of. To be part of a publicly open groups tab on 'Join In Groups'.
- All groups available for you will be displayed. You can search for a specific brand/company in the search bar at top of the screen.
-
Once you click on a particular group, you can see the below details:
- Group Name
- Group Description
- Created Date
- Based on your preference, you can like the group and subscribe to it by clicking on 'Subscribe' at the bottom of screen. You can also view the number of members in the group.
-
A 'Subscribed successfully' message will pop once you subscribe to the group. Click on right top side of the screen to:
- Siva To mute/unmute the group
- To delete the group
Private
- Click on 'Private' to view the private groups you are part of.
-
Click on the groups to know:
- Group Name
- Group Description
- Created Date
- Based on your preference, you can like the group and subscribe to it by clicking on 'Subscribe' at the bottom of screen. You can also view the number of members in the group.
-
A 'Subscribed successfully' message will pop once you subscribe to the group. Click on right top side of the screen to:
- To mute/unmute the group
- To delete the group
- To access the private Corporates which you may be a member of, tap on 'Private' on the top of the screen. Private Corporates are based on invite only basis. You cannot search for Private Corporates.
Corporates
- An invitation from an organization/brand will be listed to receive the offers/details designed for you.
-
Click on the invite to know:
- Corporate Name
- Group Description
- Created date
- Click on the bottom of the screen to 'Accept' or 'Decline' the corporate invite.
- Click on the right top side of the screen to mute/unmute the invite.
- Based on your action, the details of the invite/offer can be viewed in the 'My Box' feature of the Holaray app.
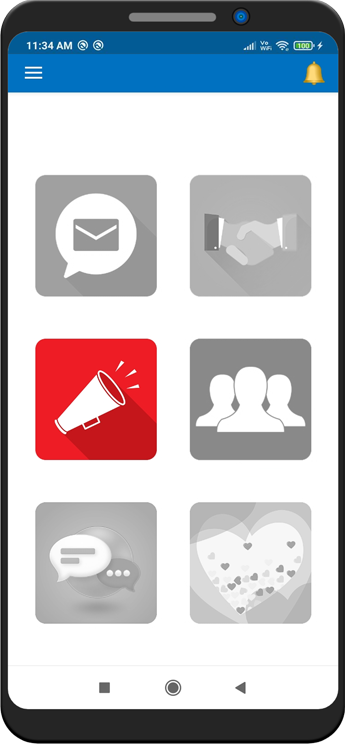
Promotions
Holaray
Welcome to Holaray Messenger!
Unleashing Global Opportunities
My Box
My Corporates
Promotions
My Groups
Chat
Invitations
- Tap on 'Promotions' feature in the home screen.
- A list of promotions will be displayed on the screen.
-
Each promotion will be tagged as below
- Trending
- Expiring soon
- New
- Tap on search bar on the top of the screen to search for a specific brand sales & discount.
- Browse through the list of promotions and click on the one that interests you.
- Details of the offers by the particular company will be displayed.
-
You have the option
- to LIKE the offer
- to DECLINE the offer
- to SHARE it with your Holaray contacts
- to RATE the deal offered by the brand
- By clicking LIKE, you are indicating to the promoter that you are interested in procuring the product and the promoter might be contacting you.
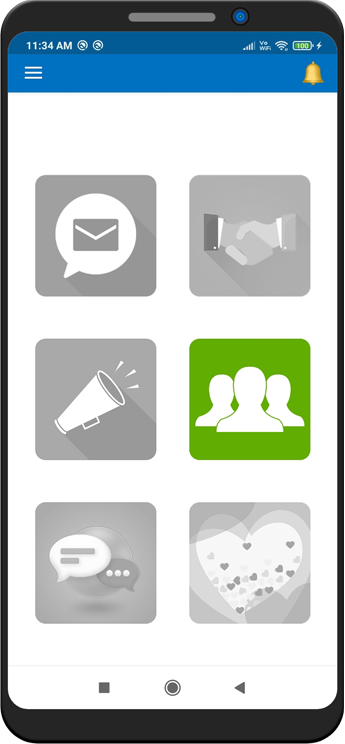
My Groups
Holaray
Welcome to Holaray Messenger!
Unleashing Global Opportunities
My Box
My Corporates
Promotions
My Groups
Chat
Invitations
- Tap on 'My Groups' feature on the home screen.
-
Two types of group options will appear on the top of the screen:
- My Groups
- Broadcast Groups
- My Groups screen will be the default screen which will open once you follow the above steps. It will display the list of public groups you are member of.
- To join publicly available groups, tab on 'Join In Groups' on the bottom of the screen.
- Tap on search bar on the top of the screen to search for a specific group or browse through the groups displayed below the search bar.
- Tap on Subscribe to become a member of the group.
- Tap on back to return to the main Group screen.
- To access the private groups which you may be a member of, tap on 'Private' on the top of the screen. Private groups are based on invite only basis.
- Tap on 'My Groups' to access the groups created by you.
- To create a group, click on 'Create Group' at the bottom of the screen.
-
Provide below details and click on Add members.
- Group Name
- Group Description
- Upload Image
- Post clicking on 'Add members', select the members you want to add to the group from your contact list.
- A pop up 'Thank you' will appear, click on back to view the groups created.
Chat
Holaray
Welcome to Holaray Messenger!
Unleashing Global Opportunities
My Box
My Corporates
Promotions
My Groups
Chat
Invitations
- Tap on 'Chat' feature on the home screen.
- This will lead to typical chat window on the App
- You can message your buddies, send files etc
- The Language of Chatting can be changed from the Keyboard
- The Chat option will be available very soon.
Invitations
Holaray
Welcome to Holaray Messenger!
Unleashing Global Opportunities
My Box
My Corporates
Promotions
My Groups
Chat
Invitations
- Tap on 'Invitations' feature in the home screen.
- The default screen is ÏNVITATIONS" you received from others.
- At the top right side of the screen, you can view the already sent invitations.
- To create personal invitations, click on 'Create' option at the bottom of the screen.
- A create invitation screen will appear.
-
You need to
- Select "Event Name" from the dropdown.
- Provide 'Event Date' i.e., when you plan to host the event.
- Select a mime from the dropdown or upload a mime of your choice from your phone gallery.
- Post selecting the mime, an 'Invitation Message' box will appear where you can enter the heading of your Invite.
- In the 'Description' box below, provide details of the event.
- After filling all the above details, click on submit.
- In the next screen, select from your Holaray connections whom you want to send the invite.
- A 'Thank You, Invitation Sent Successfully' message will pop up.
- And you can view all your invitations sent in "Sent Invitations" section.
- Once the recipients respond, you can as well view the response messages in the section below the same invitation message you sent.
Settings
- All the information you furnished including your name, mobile number and Profile picture are available at the Settings menu which is on the left side of your home screen. All the information you furnished can be edited any time.
-
Click on the icon on the left top of the screen to access:
- Home
- Account Settings
- Change Phone number
- Delete Account
- Support
- Logout
-
Click on 'Account Settings' and:
- Change the profile picture by clicking on the camera icon. Choose the picture from camera or gallery.
- Change user name.
- Enter/change email ID
- Select Gender
- Enter/change date of birth
- Click 'Save'
- Click 'Change Phone Number' to change the login number and enter the OTP shared on your number.
- In case you want to delete your Holaray account, click on 'Delete Account'. The App will ask the OTP to delete the existing account.
-
Click on 'Support' to raise or view already raised tickets.
- Write the details of the complaint in the 'Comments' section.
- Upload the Image explaining the issue further.
- Click 'Submit'
Home
Account Settings
Change Phone Number
Delete Account
Support
Language Settings